How can I assign tax to any inventory item?
When adding or updating a new inventory item, you can assign a Tax Class to it.
Once you assign a specific tax class to an inventory item, the tax rate of that class will be applied to the item. You can manage tax class settings from the repair desk settings.
Steps:
- Go to Inventory >> Manage Inventory >> Products
- Open an item by clicking on its Item ID or by clicking on the Action button and selecting Edit.
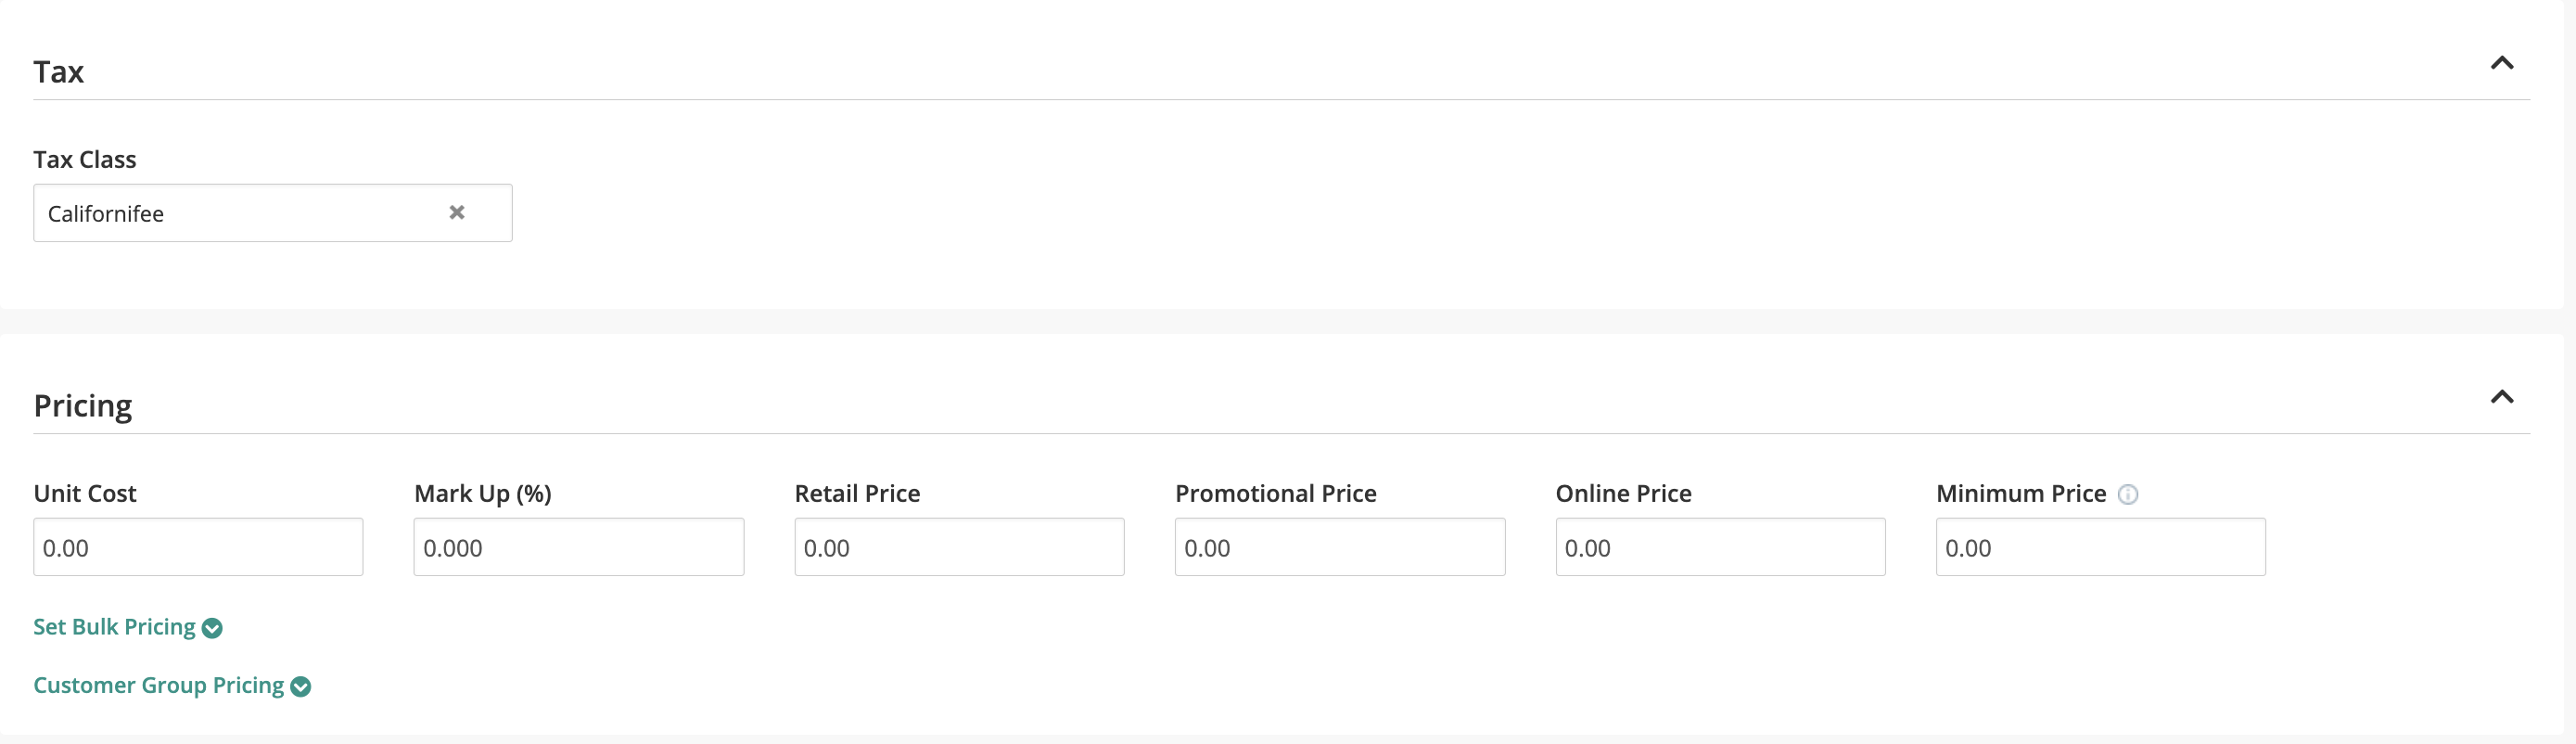
- Under the Tax tab, you can select a tax class and choose whether it is inclusive or not.
- Choose a Tax Class such as sales tax from the drop-down menu. To add or change tax classes, go to Settings >> Tax.
- Click on the Tax Inclusive option to assign tax to this inventory item.